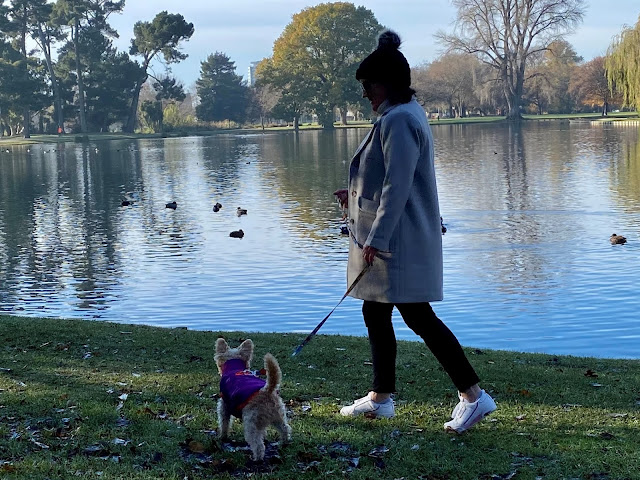
The Sewing Revival Mallard Coat
My latest project is made in conjunction with Minerva. I have been wanting a new wool coat for quite some time. The coats that I currently have for the most part are printed and although I love them, they don't go with a lot of my wardrobe. I really needed a good basic coat that I could wear for most situations.
I have been admiring The Sewing Revival Mallard coat for a while now. There have been some lovely examples popping up so this pattern was on my wish list. My latest fabric gifted by Minerva is a lovely quality wool coating. It provided the perfect opportunity to fill this wardrobe gap.
The Mallard Coat is designed to be made by intermediate sewers because it has a loose lining and minimal tailoring techniques are used. I wanted to up the anti a bit and add a few more bells and whistles.
I chose a striped satin with a cream background as my lining. It matched the beige/grey tones of the wool fabric quite nicely and also meant I could use a piece of fabric that had been in my stash for a few years. I picked it up from a Spotlight clearance table with this sort of project in mind.
The Sewing Revival recommends that sew in interfacing is used in the collar and front facings of the coat, which I did but I also added a layer of good quality iron on to the front of the coat, the upper back, sleeve heads and hems and used horse hair interfacing in the collar as well. The instructions call for purchased shoulder pads but I made my own using some compressed dacron and light weight fleece from my stash. I also added the compressed dacron to the sleeve heads for a little more body.
I recently managed to pick up a vintage iron from a second hand store. This iron was originally used on a coal range and is extremely heavy and was perfect to hold my bulky wool seams flat after steaming. Without this I think I would have struggled to get my bulky seams as flat.
I didn't follow The Sewing Revival's order of construction. I wanted to add buttonholes to my coat and was concerned that the pockets would interfere with my buttonhole construction so chose to put the buttonholes in after adding the front facing and before stitching on the pockets. This worked out really well and is something I would do again. I also made my own back neck facing in my wool fabric which meant I could construct the entire coat before adding my lining. I then stitched the lining to my coat starting at the front facing hem, across the back neck facing and then down the second front facing.
The pattern calls for a loose lining but I had the extra length in my lining so it was a quite simple process to bag it and gave the coat a more professional finish. I slip stitched the hem of the coat and sleeves to keep them nicely in place once the lining was in and before I turned the coat out the right way.
I really love how this coat turned out. It is loose enough to wear bulky pullovers underneath but would look equally good with a lighter layer as well. The fabric is really good quality and the result is a lovely warm coat that I am sure will be in my wardrobe for many years.


that looks great, I love a light color winter coat, it brightens up the season. lovely pictures. good match of fabric to style. you will wear for years.
ReplyDeleteThanks Beth! I think this may be my first light coloured winter coat. I hope to wear it for a long time to come.
Delete